
The Tabs On Foil Boxes
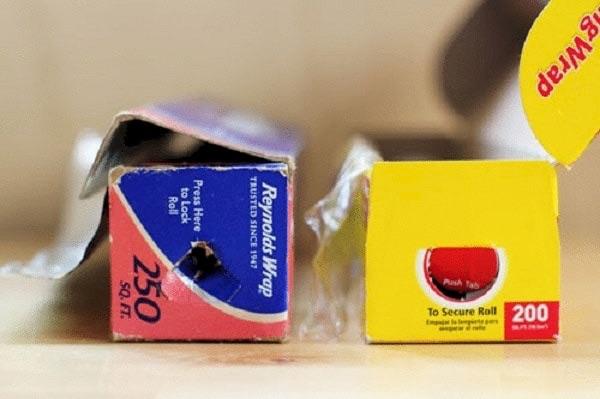
Most of us navigate the kitchen on autopilot, repeating the same motions we learned from our parents or picked up during our first years living alone. Many people struggle with rolls of aluminum foil or plastic wrap sliding out of the cardboard box at the most inconvenient moments. This frustration usually stems from ignoring the perforated triangles located on the ends of the packaging, which are meant to be pushed inward to lock the roll securely in place. By engaging these built-in stays, you create a stable pivot point that allows the material to spin freely without the entire tube leaping onto the counter or floor.
It is a remarkably simple design element that often goes unnoticed because we are usually in a hurry to get dinner started. Once these tabs are pressed in, the box functions as a proper dispenser rather than just a storage container, resulting in much cleaner tears and less wasted product. Taking three seconds to set this up when you first open a new box will save you from wrestling with tangled sheets of metal or plastic for the next several months.
The Hole In Pasta Spoons
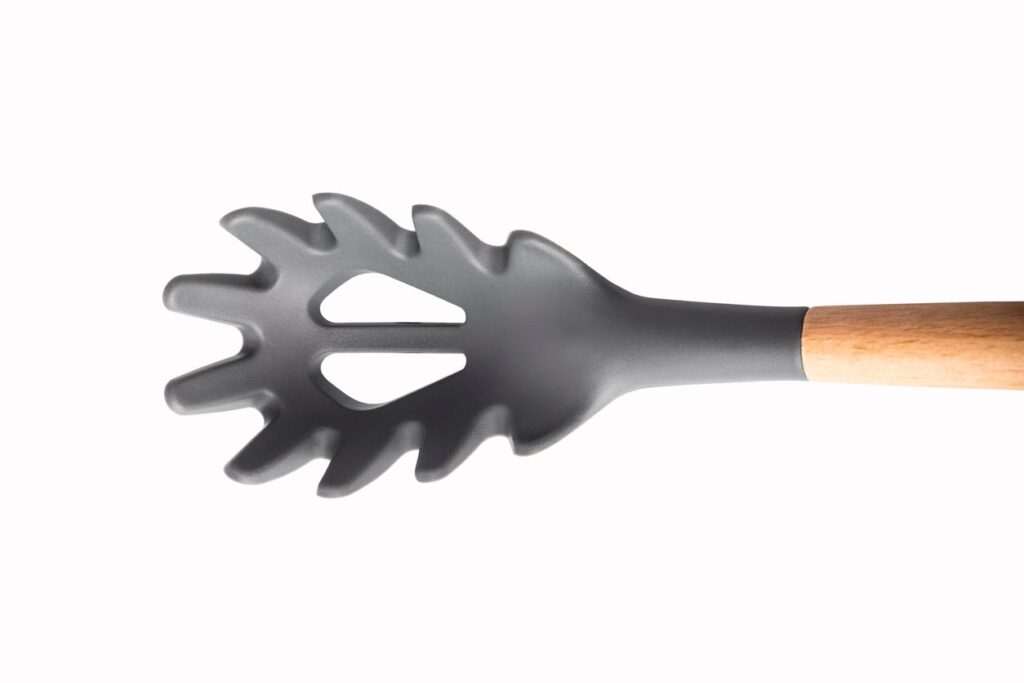
If you have ever wondered why your large plastic pasta server has a singular hole right in the center of the scoop, you are not alone. While most assume it is simply there to let water drain away while serving, its primary function is actually a clever measuring tool for dry noodles. For most standard kitchen brands, the amount of dry spaghetti that fits perfectly through that circular opening represents a single, laboratory-standard serving size for one adult.
Using this built-in guide helps prevent the common mistake of cooking far more pasta than your family can actually consume in one sitting. It eliminates the guesswork and the need for a separate kitchen scale, which leads to less food waste and better portion control during meal planning. Next time you are preparing a quick weeknight dinner, try threading the noodles through the hole before dropping them into the boiling water to see just how accurate this hidden measuring device really is.
The Pot Handle Hole
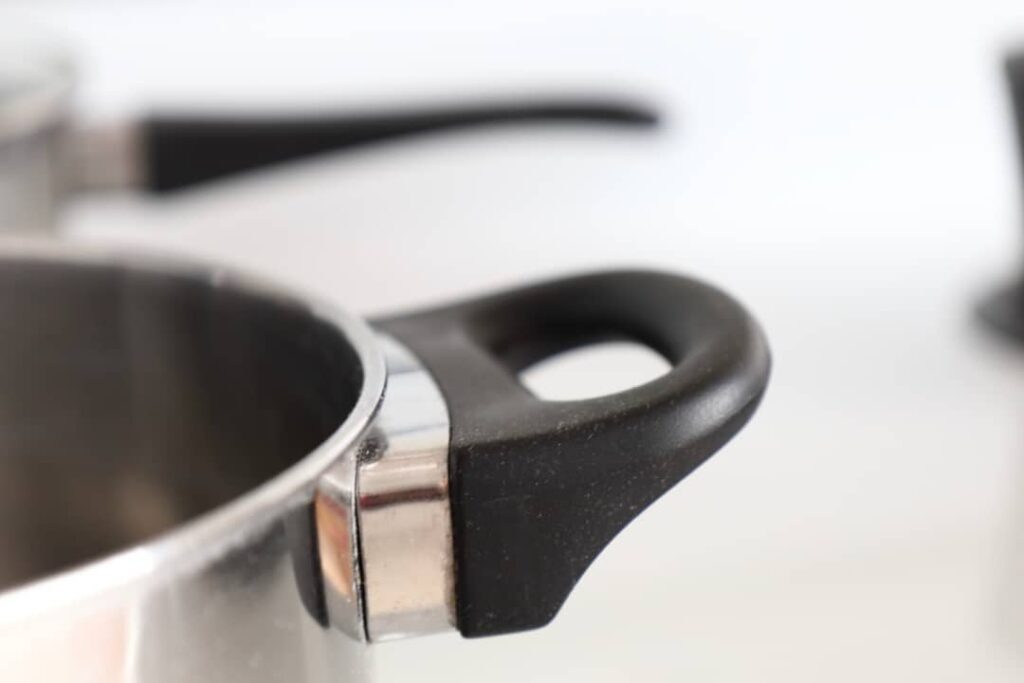
Most home cooks utilize the hole at the end of a pot or pan handle exclusively for hanging their cookware on a wall rack or a hook. While it certainly serves that organizational purpose, the cutout is also intentionally designed to act as a convenient rest for your messy stirring spoon. Instead of placing a sauce-covered wooden spoon directly on the clean countertop or searching for a separate porcelain rest, you can simply slot the handle of the tool through the opening.
This clever hack keeps the head of the spoon suspended directly over the pot, resulting in any drips falling right back into the food where they belong. It is a fantastic way to minimize cleanup and keep your workspace tidy while you are busy multitasking at the stove. Once you get into the habit of using the handle this way, you will likely find that your kitchen stays much cleaner throughout the entire cooking process, whereas before you might have been constantly wiping up stray splatters of marinara or gravy.
The Correct Way To Peel
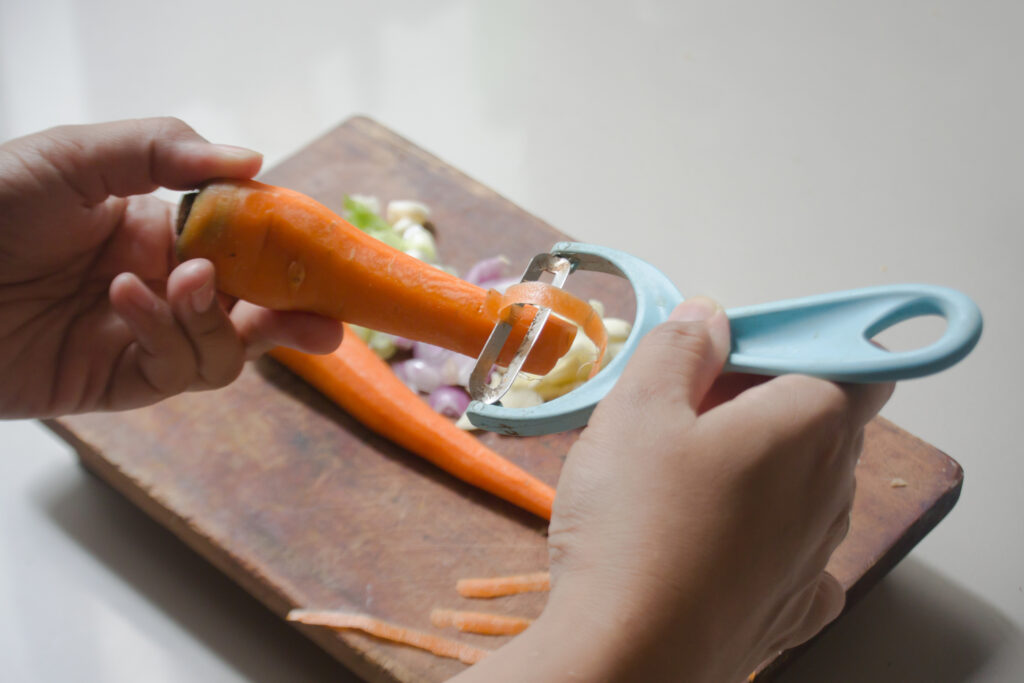
Most of us treat a vegetable peeler like a one-way street, dragging the blade toward us or away from us in a single, repetitive motion. However, the blades on most standard Y-shaped or swivel peelers are actually designed to work in both directions, allowing you to move the tool back and forth rapidly without lifting it from the surface. This dual-action approach significantly speeds up the preparation of carrots, parsnips, and cucumbers, which effectively cuts your prep time in half during a busy holiday meal.
By keeping the blade in constant contact with the vegetable, you maintain a better rhythm and achieve a more consistent thickness across every strip. This technique also feels much more ergonomic for your wrist and hand over long periods, resulting in less fatigue when you are tasked with peeling a five-pound bag of potatoes for a family gathering. Embracing the back-and-forth motion might feel a little strange at first, but the sheer efficiency gained makes it a skill worth mastering for any dedicated home cook.
The Microwave Edge Rule
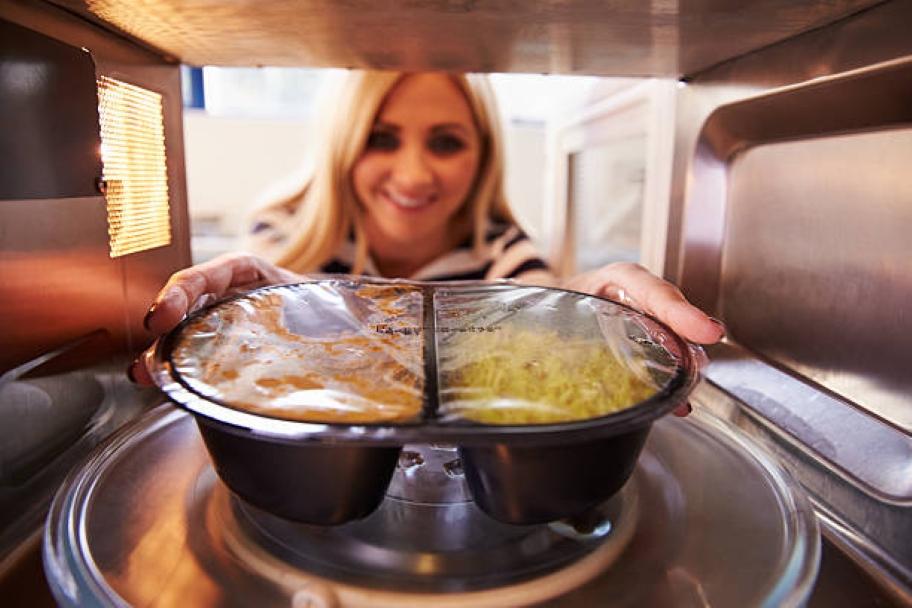
When reheating leftovers in the microwave, most people pile their food into a dense mound right in the center of the plate. Because microwaves heat by exciting water molecules through radio waves, the center of a large pile often remains cold and frozen while the outer edges become rubbery and overcooked. To achieve a more even temperature throughout your meal, you should arrange your food in a ring shape, resulting in a hollow center that allows the waves to penetrate from more angles.
This simple structural change ensures that the heat is distributed more effectively across the entire surface area of the dish. It prevents those unpleasant surprises where the first bite is scalding hot but the middle of the mashed potatoes is still icy. If you are heating up something that cannot be shaped into a ring, spreading it out as flat as possible toward the edges of the plate will yield a much better result than a tall, concentrated heap.
The Toaster Crumb Tray
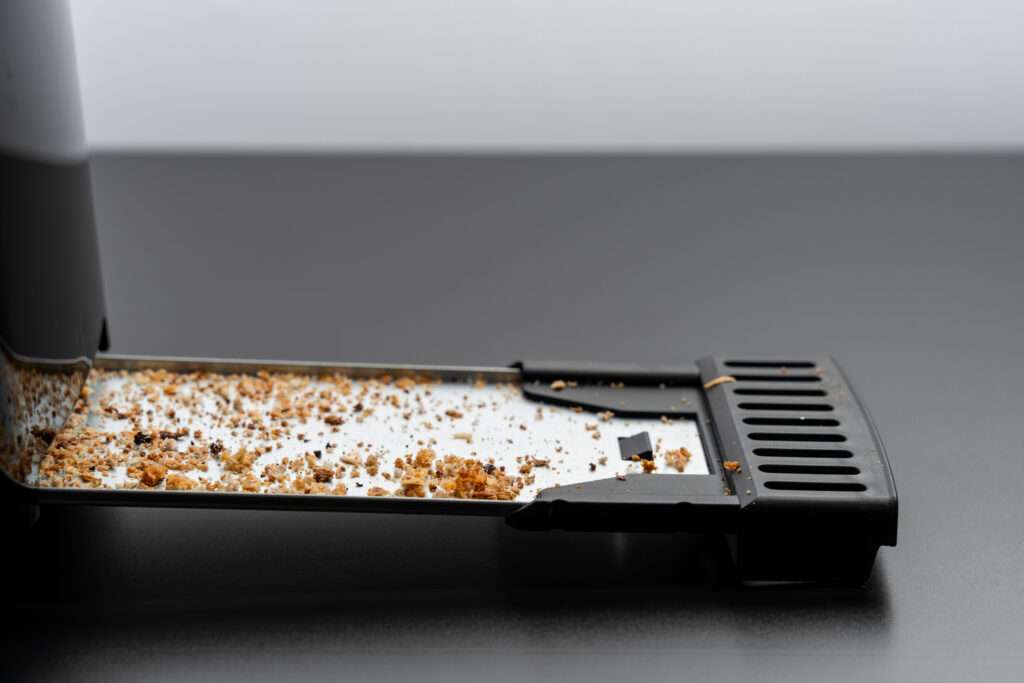
We often forget that the bottom of a toaster is essentially a collection bin for dry, flammable debris that can eventually affect the flavor of our bread. Most modern toasters are equipped with a thin, sliding tray at the base that is specifically designed to be removed and emptied on a regular basis. Failing to clear this out can lead to a lingering burnt smell in your kitchen, or in extreme cases, it could even pose a legitimate fire hazard if the buildup becomes too significant.
Locating and sliding out this tray once a week is a vital maintenance task that keeps the appliance running efficiently and smelling fresh. It is much easier than unplugging the whole unit and shaking it upside down over the sink, which is the messy method many people still rely on. Keeping the internal heating elements free from charred remains ensures your morning bagel tastes exactly as it should, whereas neglecting the tray often leads to a smoky kitchen and disappointing results.
The Soda Tab Straw Holder
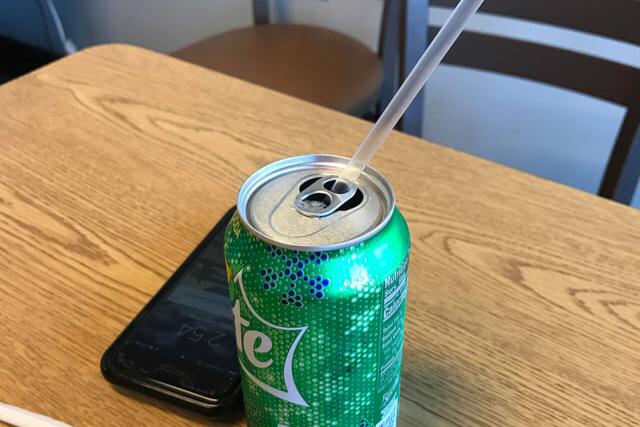
Drinking soda from a can while using a straw can be a frustrating experience because the carbonation often causes the lightweight plastic tube to float upward and tip out. The small metal tab you use to pop the seal actually has a secondary purpose that addresses this exact annoyance. After you open the can, you should rotate the tab 180 degrees so that it sits directly over the opening, allowing you to slide your straw through the hole in the tab.
This little maneuver acts as a stabilizer, keeping the straw firmly in place and preventing it from bobbing around as you move. It is a subtle piece of engineering that makes enjoying a cold beverage much more convenient, especially if you are traveling or at an outdoor event. Most people never think to turn the tab back around, but doing so provides a much more secure fit for the straw, resulting in a spill-free experience that keeps your drink exactly where it needs to be.
The Bottom Of A Cup

Many high-quality ceramic mugs and glasses feature a small notch or a slight indentation on the bottom rim that seems purely decorative. However, this feature is actually a functional design element intended for use in the dishwasher. These grooves are designed to allow water to drain away from the base of the cup while it is sitting upside down on the rack, which prevents a stagnant pool of dirty water from collecting on the bottom of your clean dishes.
Without these drainage channels, you would likely find a small reservoir of soapy residue every time you go to unload the machine, resulting in the need to hand-dry every single item. It is a clever way to ensure that the drying cycle is actually effective and that your glassware comes out spotless and ready for the cupboard. This small detail proves that even the parts of our dishes we rarely look at are often designed with a specific, practical purpose in mind to make our lives a little easier.
The Blender Loading Order

Most people toss ingredients into a blender haphazardly, usually starting with the heavy frozen fruit or ice cubes on the bottom and adding liquids last. This is actually the reverse of how the machine is designed to operate, as the blades need liquid at the base to create a consistent vortex. To get the smoothest results and prevent the motor from stalling, you should always pour your liquids in first, followed by powders, then soft foods, and finally the hardest items like ice.
Loading in this specific sequence allows the blades to gain momentum and pull the heavier solids down into the spinning mixture more effectively. It results in a much creamier texture for smoothies and soups without the need to constantly stop and stir the contents with a spatula. By respecting the physics of the blender, you also extend the life of the appliance’s motor, whereas forcing the blades to grind through a mountain of ice right at the start can cause unnecessary wear and tear.
The Slow Cooker Lid
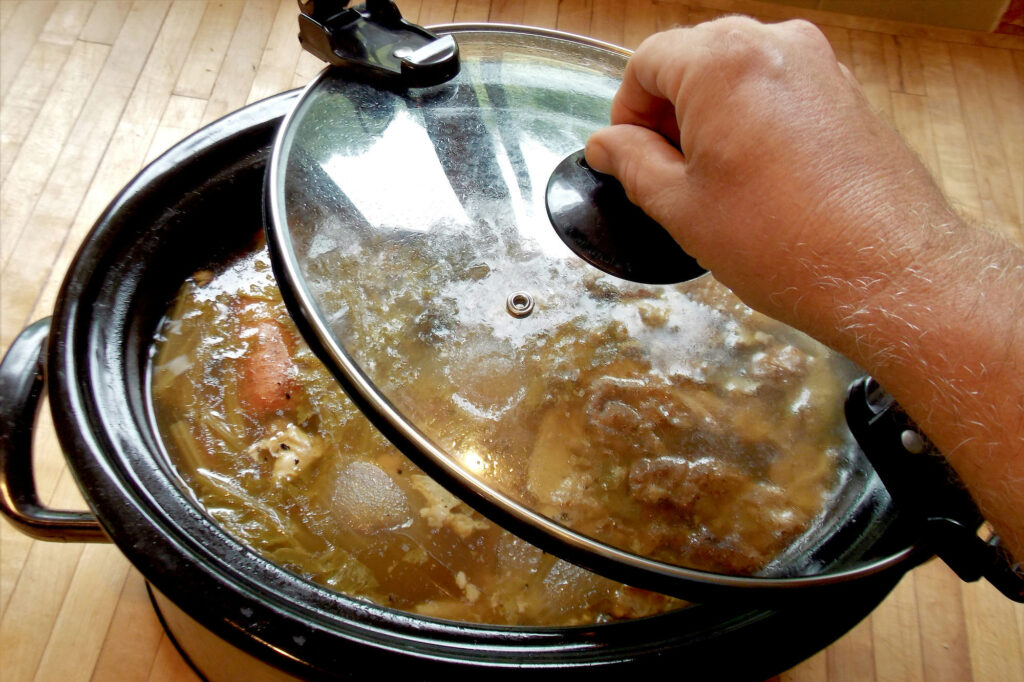
A common mistake when using a slow cooker is lifting the lid to check on the progress of a roast or a hearty stew. Because these appliances operate at relatively low temperatures, a significant amount of the internal heat is stored in the steam trapped at the top of the ceramic pot. Every time you peek inside, that heat escapes instantly, which can add up to thirty minutes of additional cooking time to your meal for every single time the lid is removed.
Patience is a requirement for this particular kitchen tool, and it is best to trust the timer and the recipe rather than your eyes. Most lids are made of clear glass specifically so you can see what is happening without breaking the seal and losing that precious moisture. Keeping the lid firmly in place ensures that the temperature remains consistent and the meat becomes perfectly tender, resulting in a much better meal than one that has been constantly interrupted by a curious cook.
The Wooden Spoon Trick
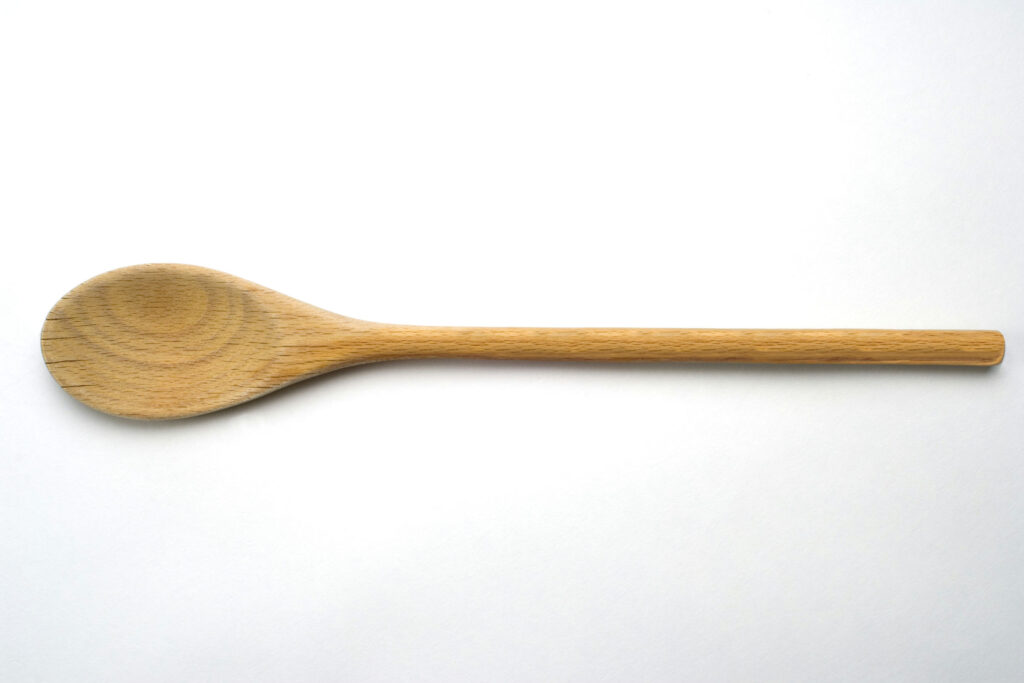
Many people view the act of boiling a pot of starchy water as a high-stakes game of chicken, constantly adjusting the heat to prevent bubbles from spilling over the sides. A classic kitchen remedy involves laying a dry wooden spoon across the top of the open pot, which acts as a physical barrier that breaks the surface tension of the rising foam. When the expanding bubbles come into contact with the cooler, dry surface of the wood, they pop instantly, resulting in a manageable simmer rather than a messy stovetop disaster.
This works because wood is a poor conductor of heat and stays much cooler than the boiling water, whereas a metal spoon would quickly heat up and allow the bubbles to continue climbing. It is a particularly helpful technique when cooking pasta or potatoes, which are notorious for creating thick, starchy foam that expands rapidly. By using this simple natural tool, you can step away from the stove for a moment without the constant fear of a cleanup project, whereas relying on luck often ends with a crusted layer of starch on your burner.
The Salad Spinner’s Versatility
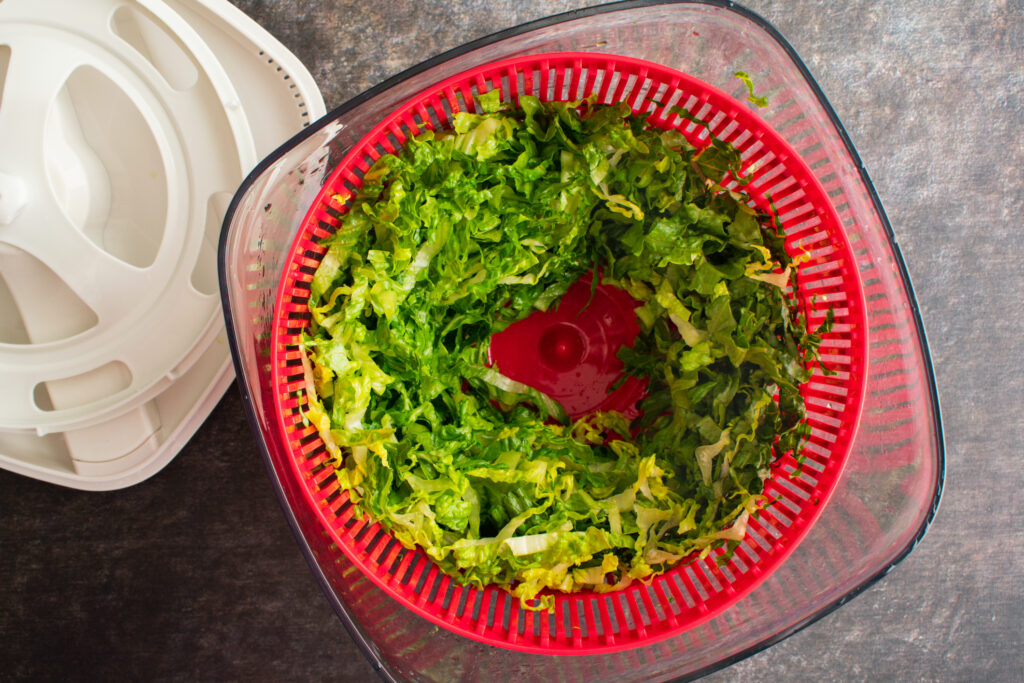
A salad spinner is frequently relegated to the back of the pantry, appearing only when it is time to dry leafy greens for a summer salad. However, this centrifugal tool is actually one of the most effective ways to wash and prepare delicate berries or even to remove excess moisture from shredded potatoes before frying. By placing small fruits like raspberries or blueberries in the basket and giving them a gentle spin, you can clean them thoroughly without the bruising that often occurs under a heavy stream of tap water.
The spinning action is also a secret weapon for creating the perfect crispy hash browns or latkes, as it wicks away the moisture that usually causes potatoes to steam rather than sear. It is a far more efficient method than pressing them between layers of paper towels, which led to soggy results and wasted supplies. Utilizing your spinner for these unconventional tasks ensures that it earns its keep on the counter, whereas keeping it for lettuce alone makes it feel like a bulky, single-use gadget that takes up far too much space.
The Garlic Peeling Hack
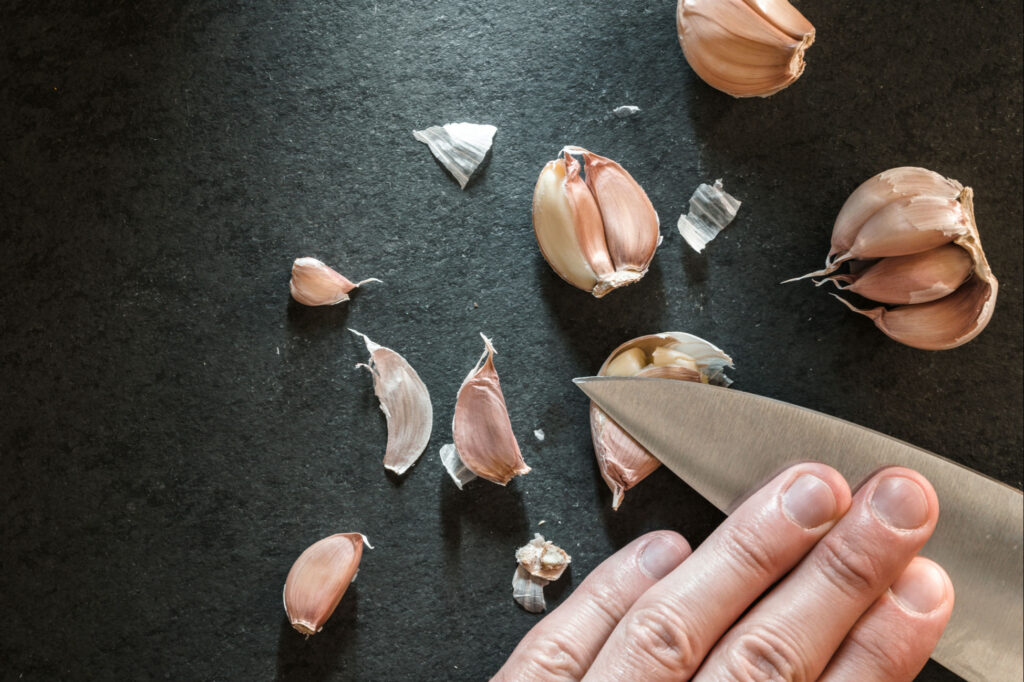
Peeling garlic is often cited as one of the most tedious and sticky tasks in the kitchen, resulting in fragrant fingers and frustration. Instead of picking at the thin, papery skin with your fingernails, many professional chefs utilize the broad side of a chef’s knife to apply a quick, firm burst of pressure to the clove. This action gently cracks the skin away from the flesh, resulting in a clean clove that slides right out of its husk without any tedious picking or peeling required.
If you are dealing with a whole head of garlic, you can even place the cloves between two identical metal bowls and shake them vigorously for ten seconds. The friction between the cloves and the hard surface of the bowls effectively strips the skins away in one go, which is a massive time-saver for recipes requiring multiple bulbs. Embracing these physical shortcuts makes the prep work feel much less like a chore, whereas the traditional method usually leaves you with bits of skin stuck to your hands and your cutting board.


